PLAY astrophotography software can be used also to easily control Celestron computerized mounts and telescopes that are compatible with the CPWI control software. This enables you to take full advantage of remote operations and automation, which are essential in astrophotography. In this article, we’ll show you how to properly set up and connect your Celestron telescope to PLAY, unlocking advanced features. In order to use PLAY to control Celestron mounts, you have to use ASCOM Platform at least version 7 (with the latest version of CPWI software) and you have to have at least one of the ESATTO focuser, SESTO SENSO 2 focusing motor, GIOTTO flat field generator or ALTO telescope cover motor.
To remotely control your Celestron computerized telescope with PLAY, we recommend using Celestron CPWI software for Windows. CPWI allows you to control your telescope from the computer without needing to use the hand controller interface directly and makes the mount available as an ASCOM-compatible device. You can connect the USB port on the NexStar+ hand controller directly to an available USB port on your computer (or EAGLE). You can download CPWI from the official Celestron website: https://www.celestron.com/pages/celestron-pwi-telescope-control-software. Please follow this procedure:
- Make sure your EAGLE or Windows computer is using ASCOM Platform at least version 7, you can download it from https://ascom-standards.org/
- Download and install the latest version of CPWI software from Celestron.
- Make sure your mount’s tripod is levelled for proper alignment.
- Set your telescope in the correct Home position, depending on the mount type:
- For equatorial mounts, the telescope should be polar aligned with the counterweight bar pointing down. If you’re in the Northern Hemisphere, align the mount with the Celestial North Pole using your polar scope or polar alignment routine. Balance the mount using the counterweights as specified in your mount’s user manual.
- For alt-azimuth mounts, point the telescope North (or South in the Southern Hemisphere) and toward the horizon (elevation = 0°). Ensure the telescope is properly balanced for smooth movement.
- Power ON the telescope and wait until the NexStar+ hand controller has completed initialization.
- Connect a USB cable from your EAGLE or Windows computer to the USB port at the base of the NexStar+ hand controller.

Now, before connecting to PLAY, launch CPWI and, on the initial screen, move the mouse over “Connection” button in the top-left corner of the window and select USB.
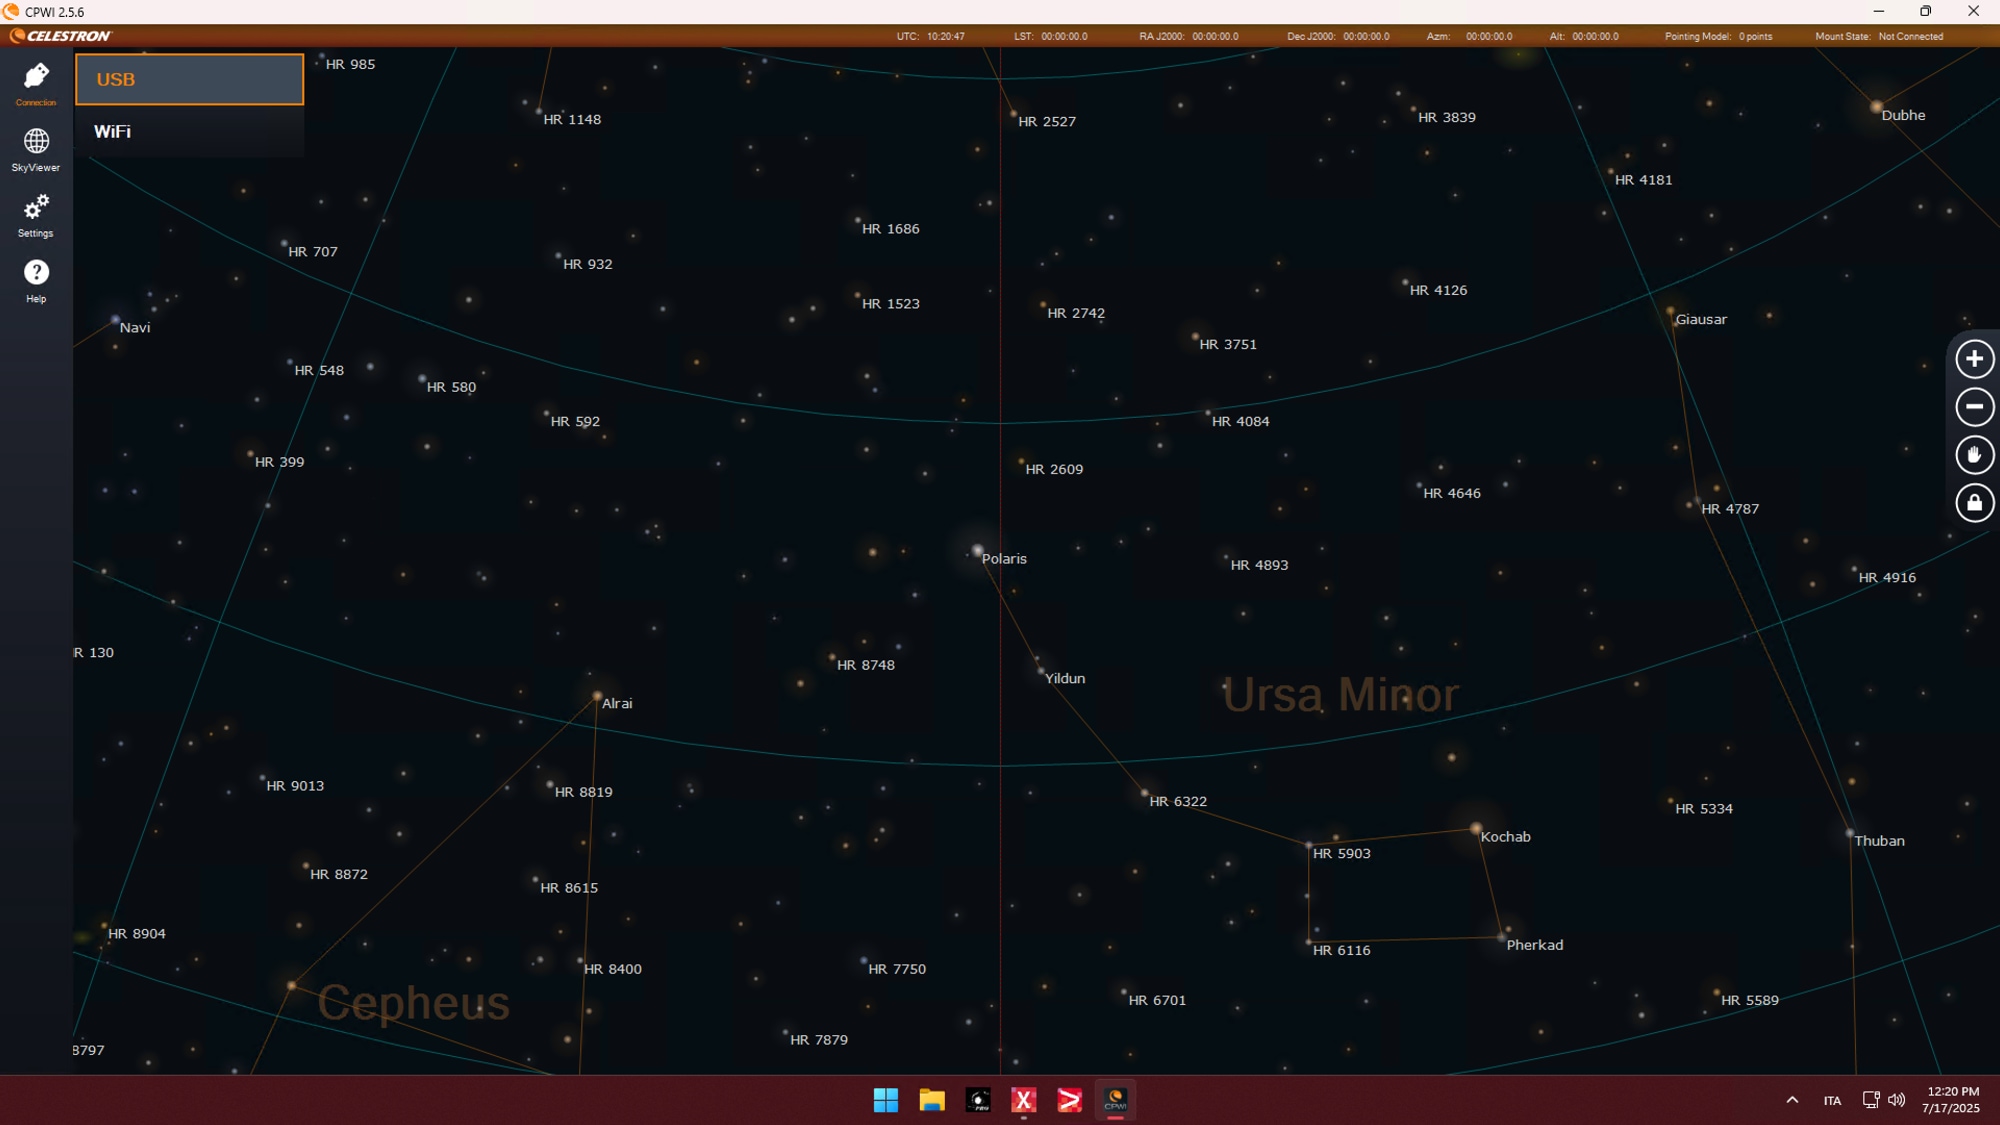
Wait for CPWI to establish the connection with your telescope. Once connected, the Alignment window will appear automatically. At this point, it’s important to verify that the Location and Time settings in CPWI are correct. In particular, ensure that the Latitude and Longitude values match those configured in the Mount settings of the PLAY software.
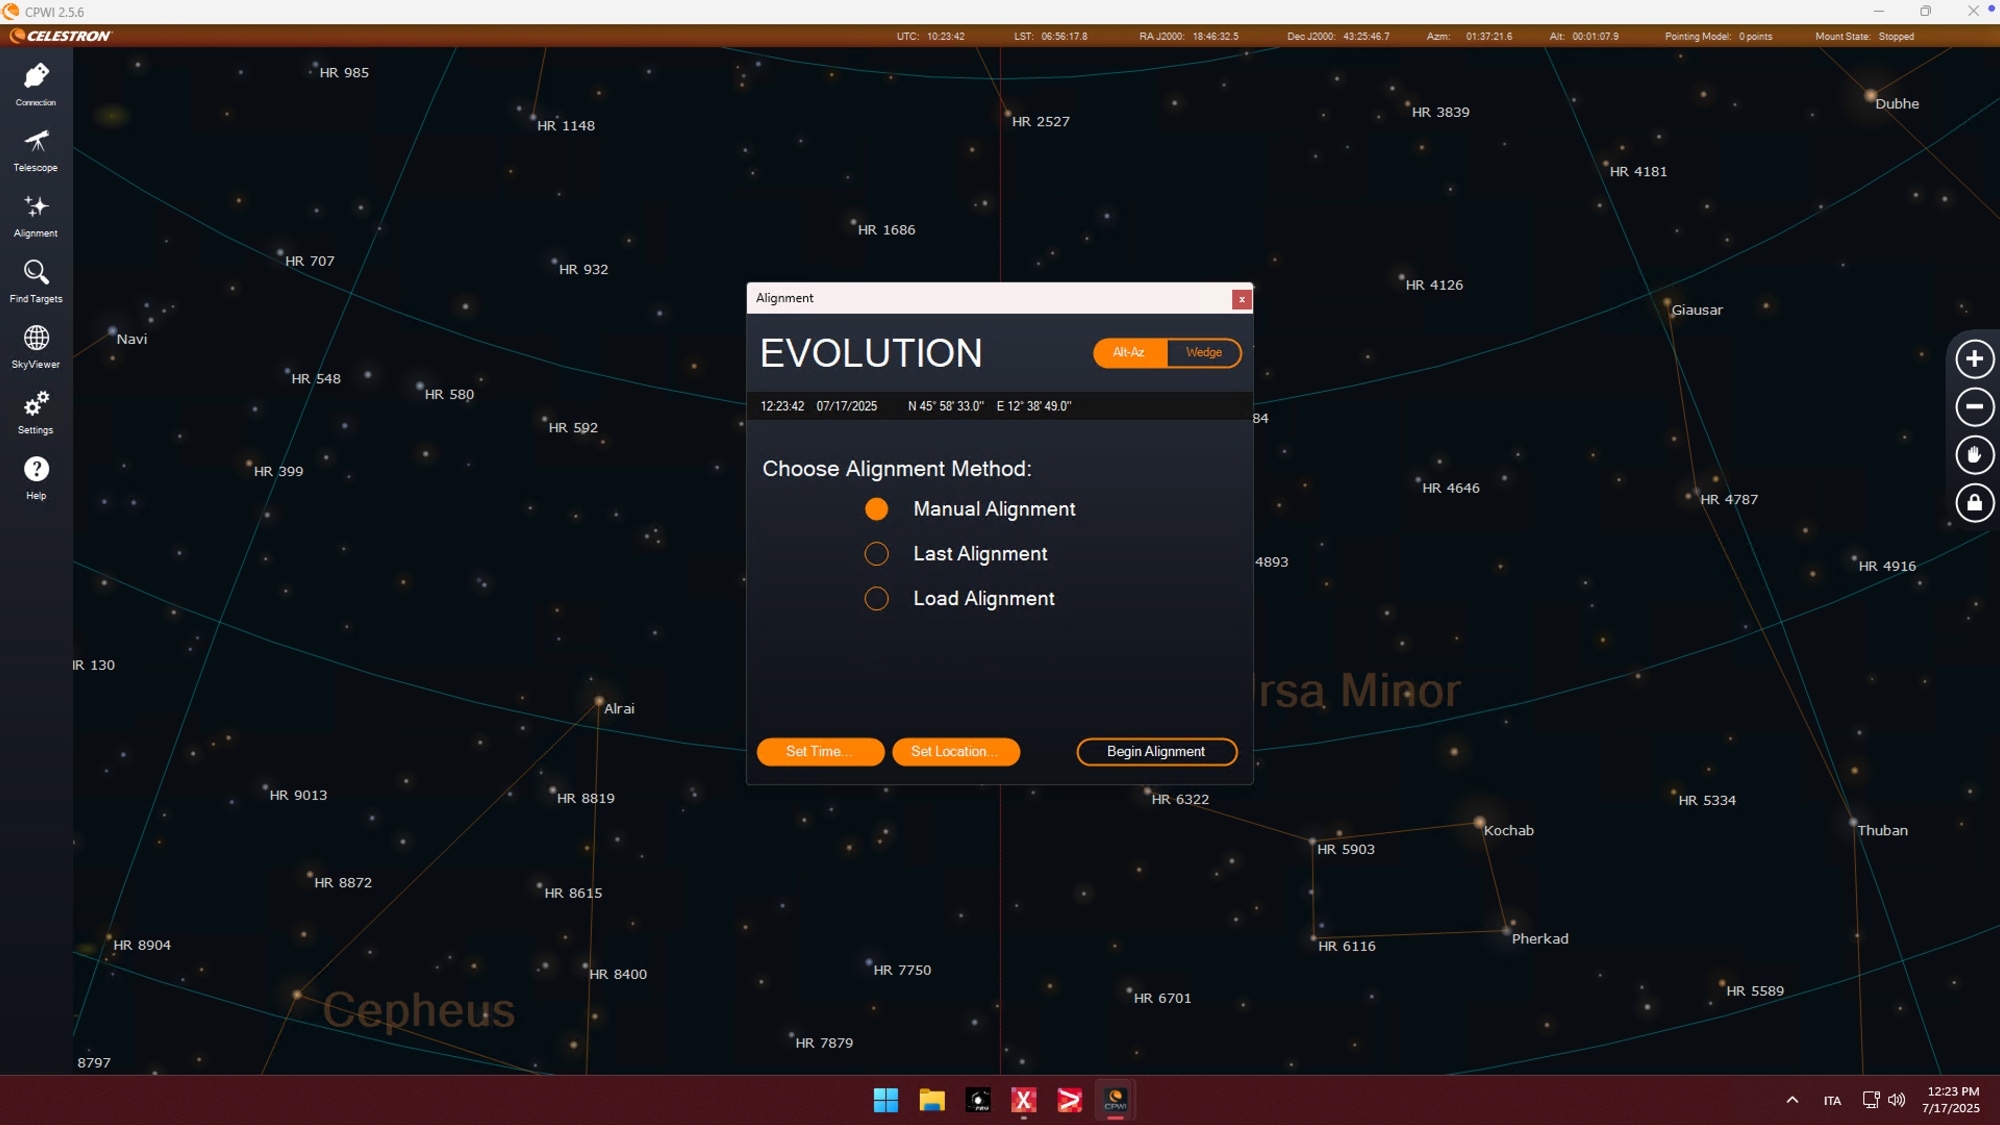
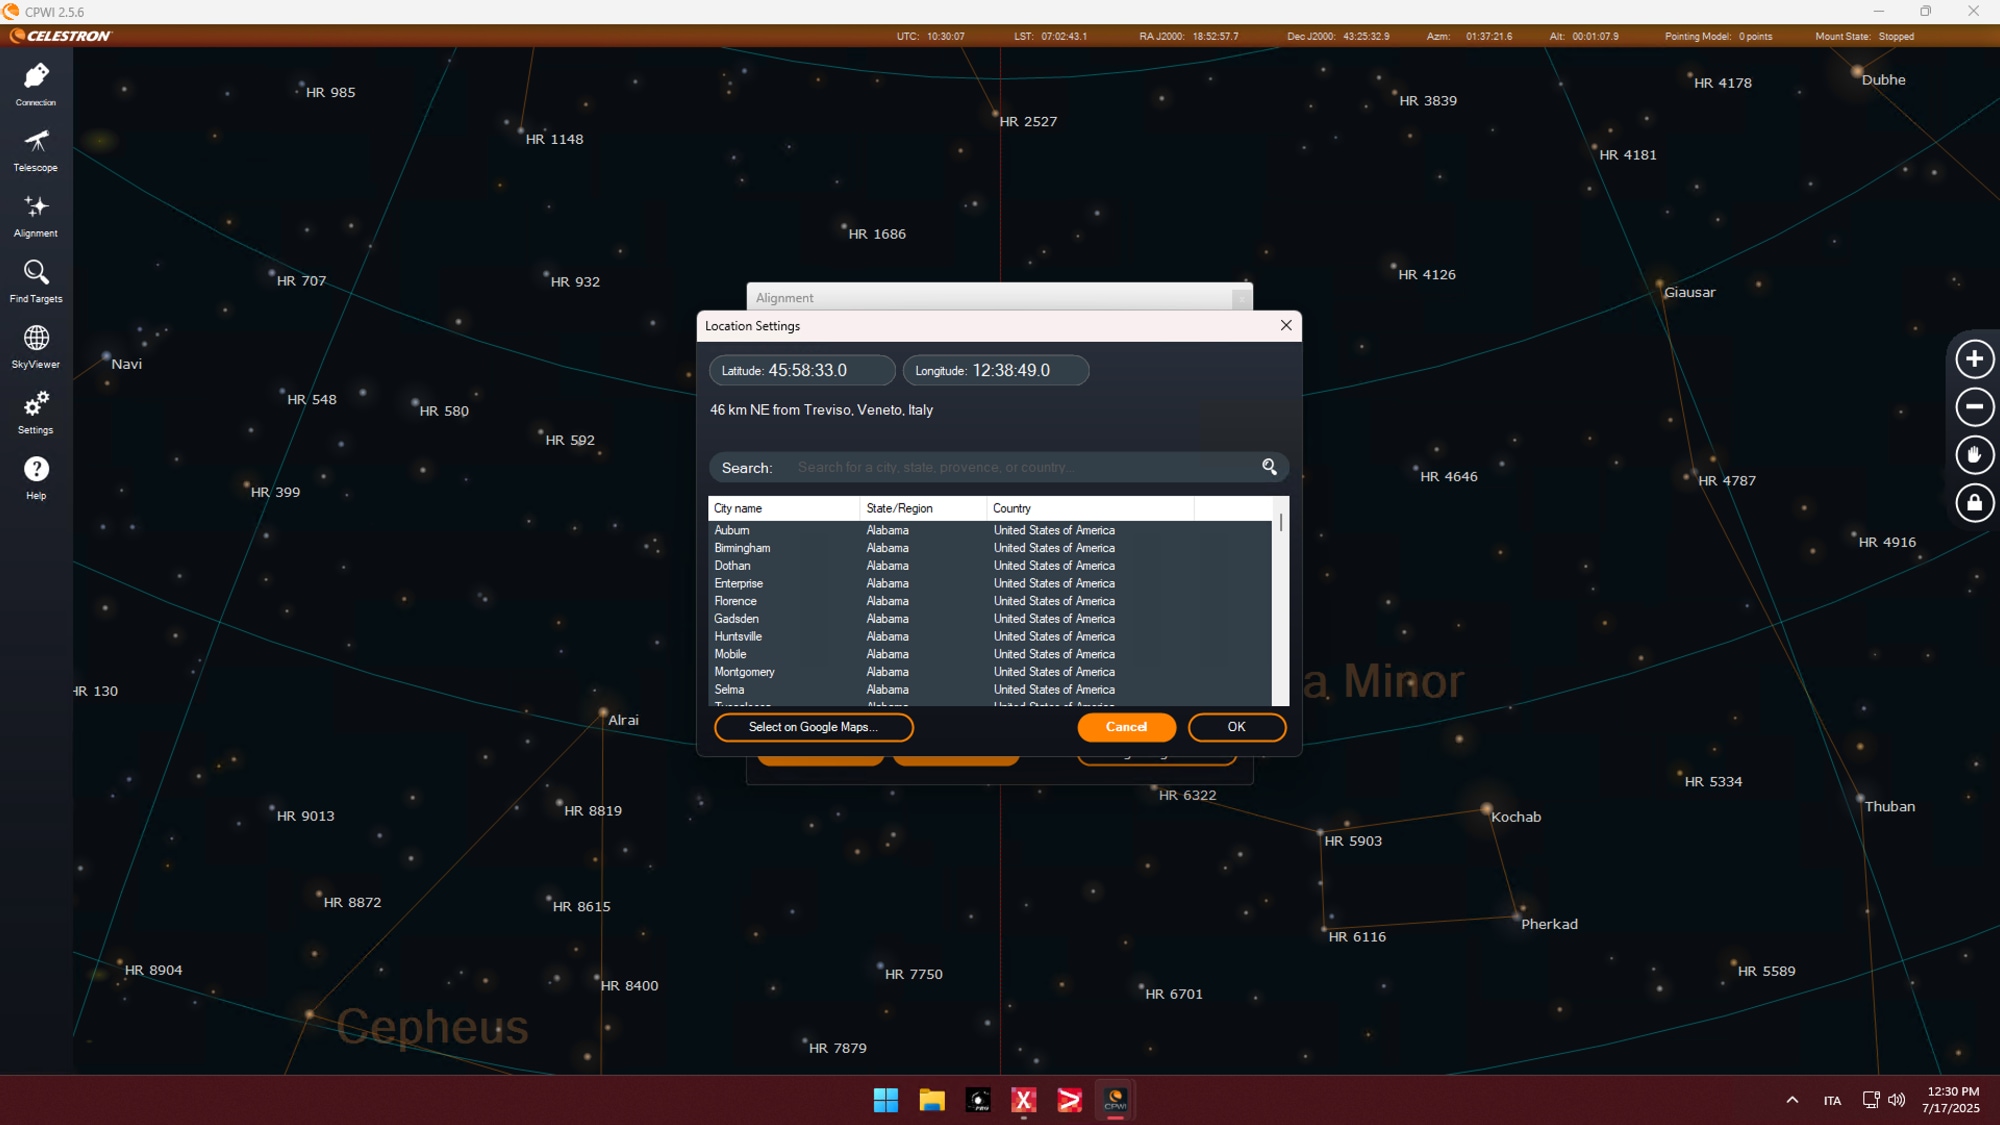
In order to to this, click on “Set Location” button and make sure you Latitude and Longitude are correct (they will have to match the ones you will use in PLAY’s Mount settings). This step is crucial to ensure precise pointing and proper alignment between the telescope and the sky coordinates used by PLAY. Depending on your preference, you can choose how to perform the alignment. You may use CPWI to align your telescope to the sky first, and then connect it to PLAY for further control. Alternatively, if you prefer to use the Auto Alignment feature offered by PLAY, you can simply close the Alignment window in CPWI without performing any alignment there. In this case, the telescope alignment will be managed directly by PLAY once the connection is established.
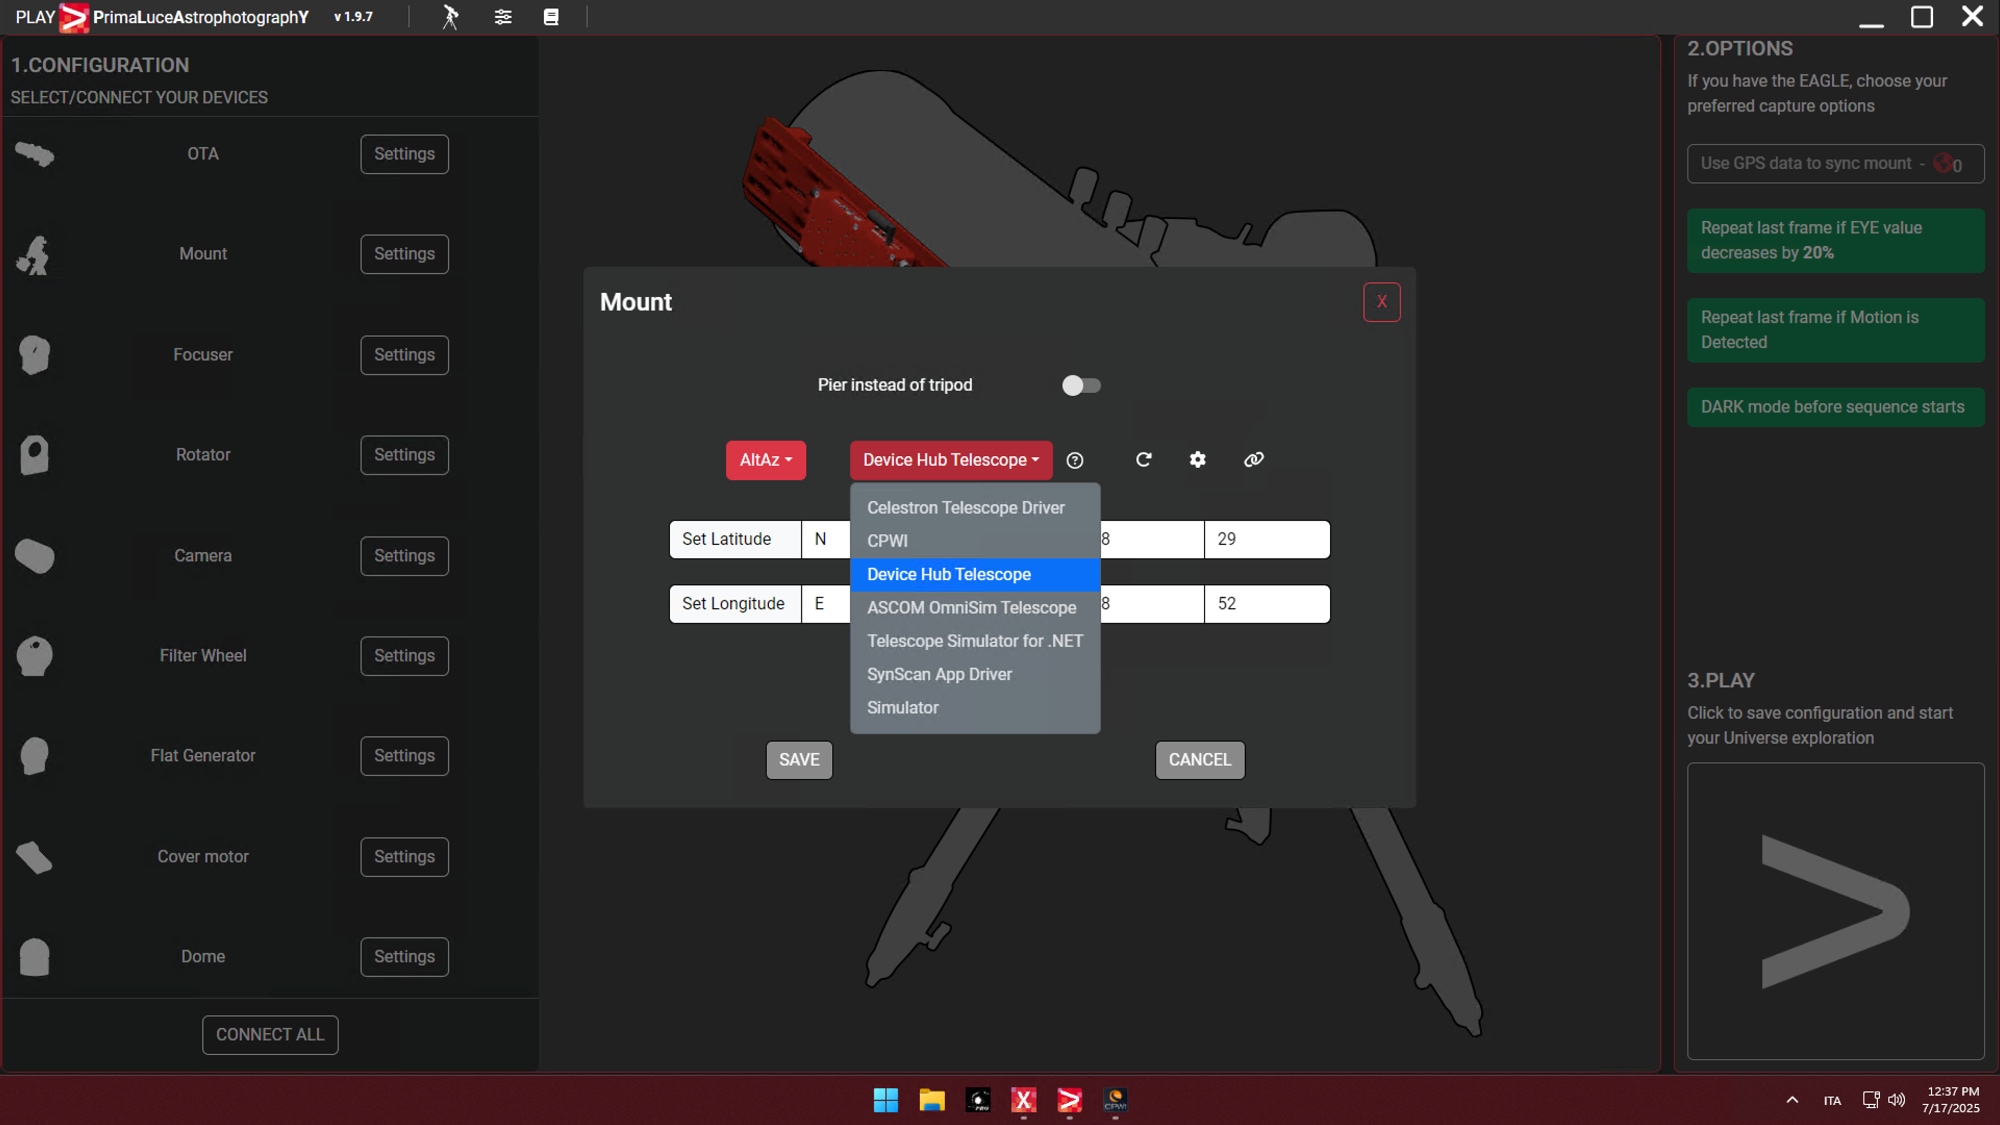
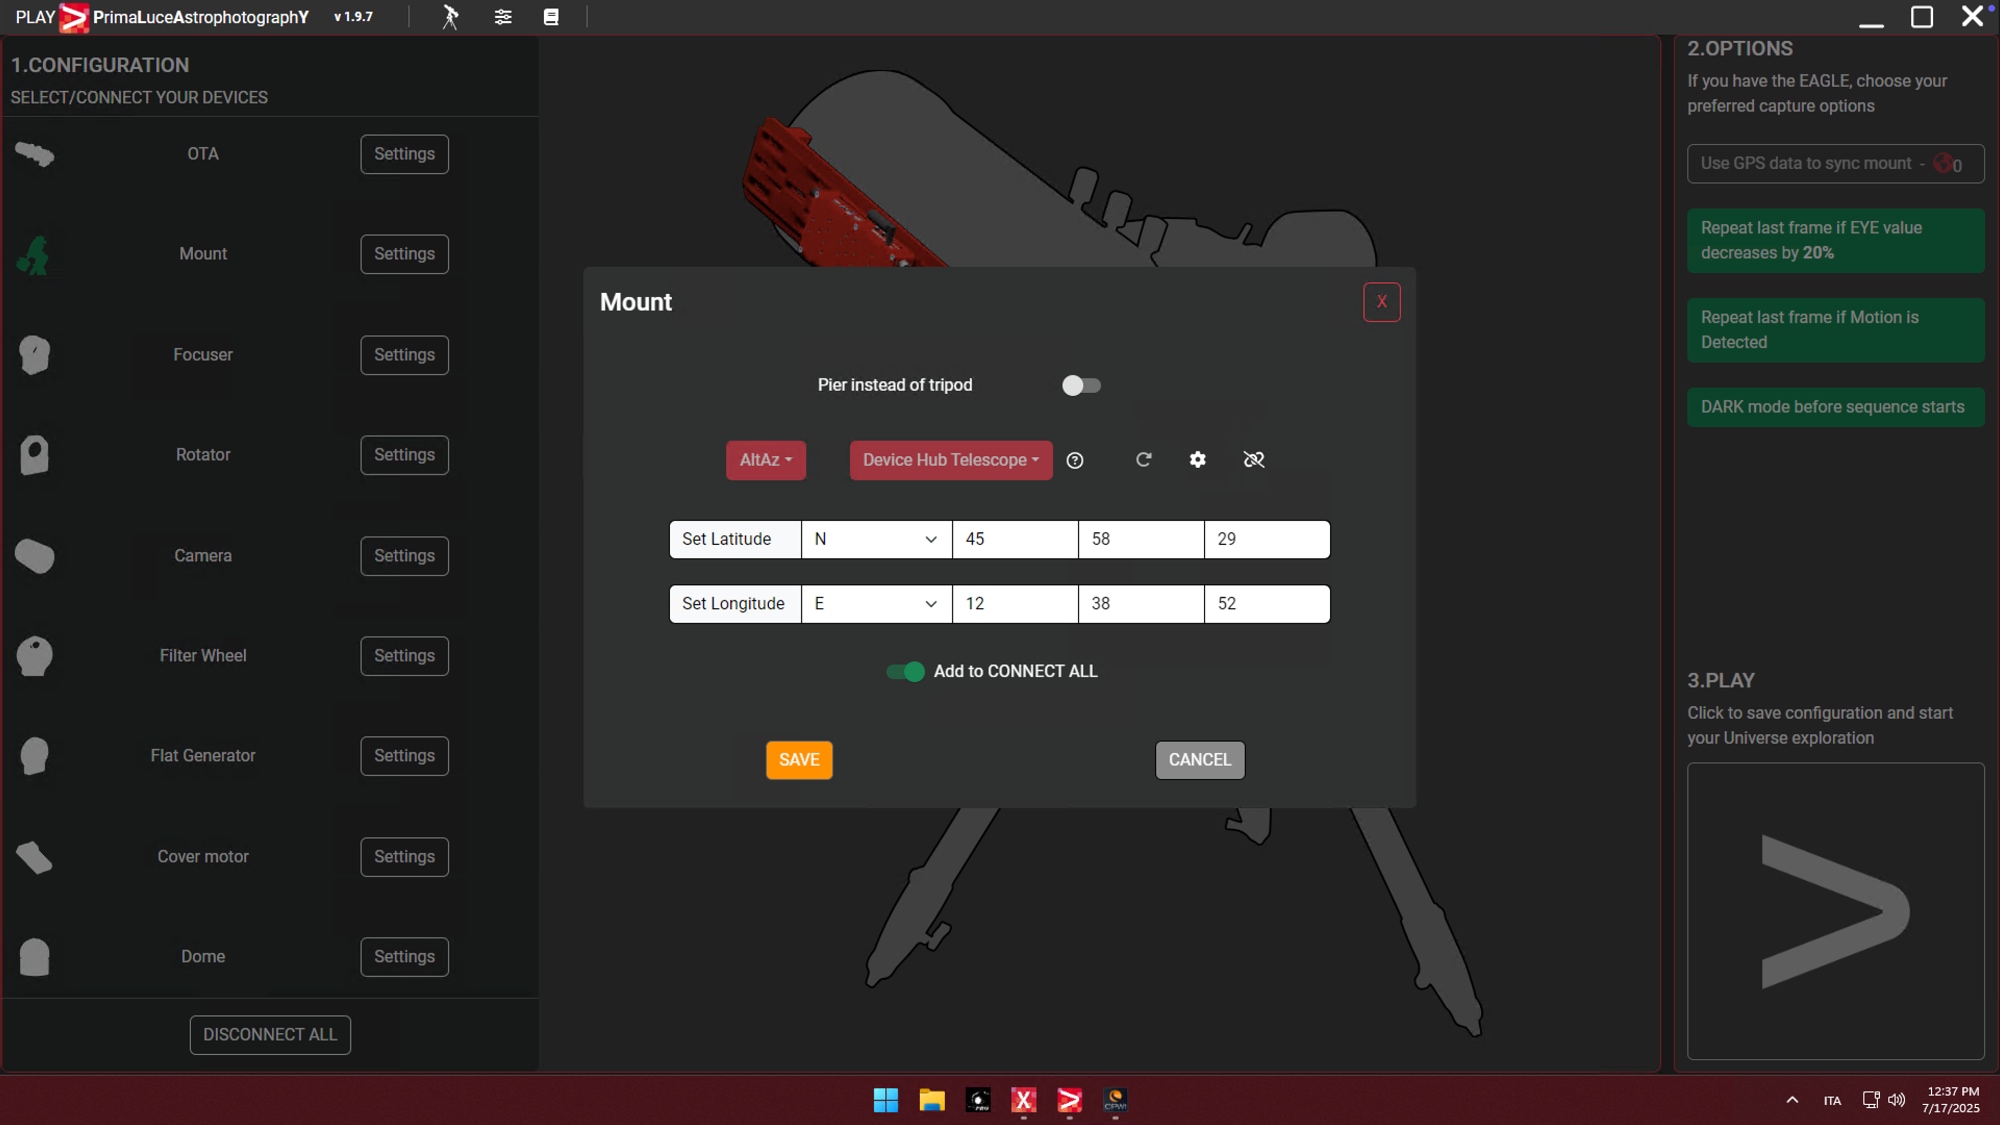
Now launch PLAY and go to the Mount settings section. Select the mount type you have, Alt-Az or EQ, and then select the ASCOM driver you want to use to connect to your Celestron mount. For best connection reliability, we recommend choosing “Device Hub Telescope” instead of connecting directly to CPWI. The ASCOM Device Hub acts as a communication bridge, allowing multiple software applications (like PLAY and CPWI) to connect to the same ASCOM telescope driver simultaneously and more reliably. Once selected, click Connect to establish the link between PLAY and your Celestron mount.
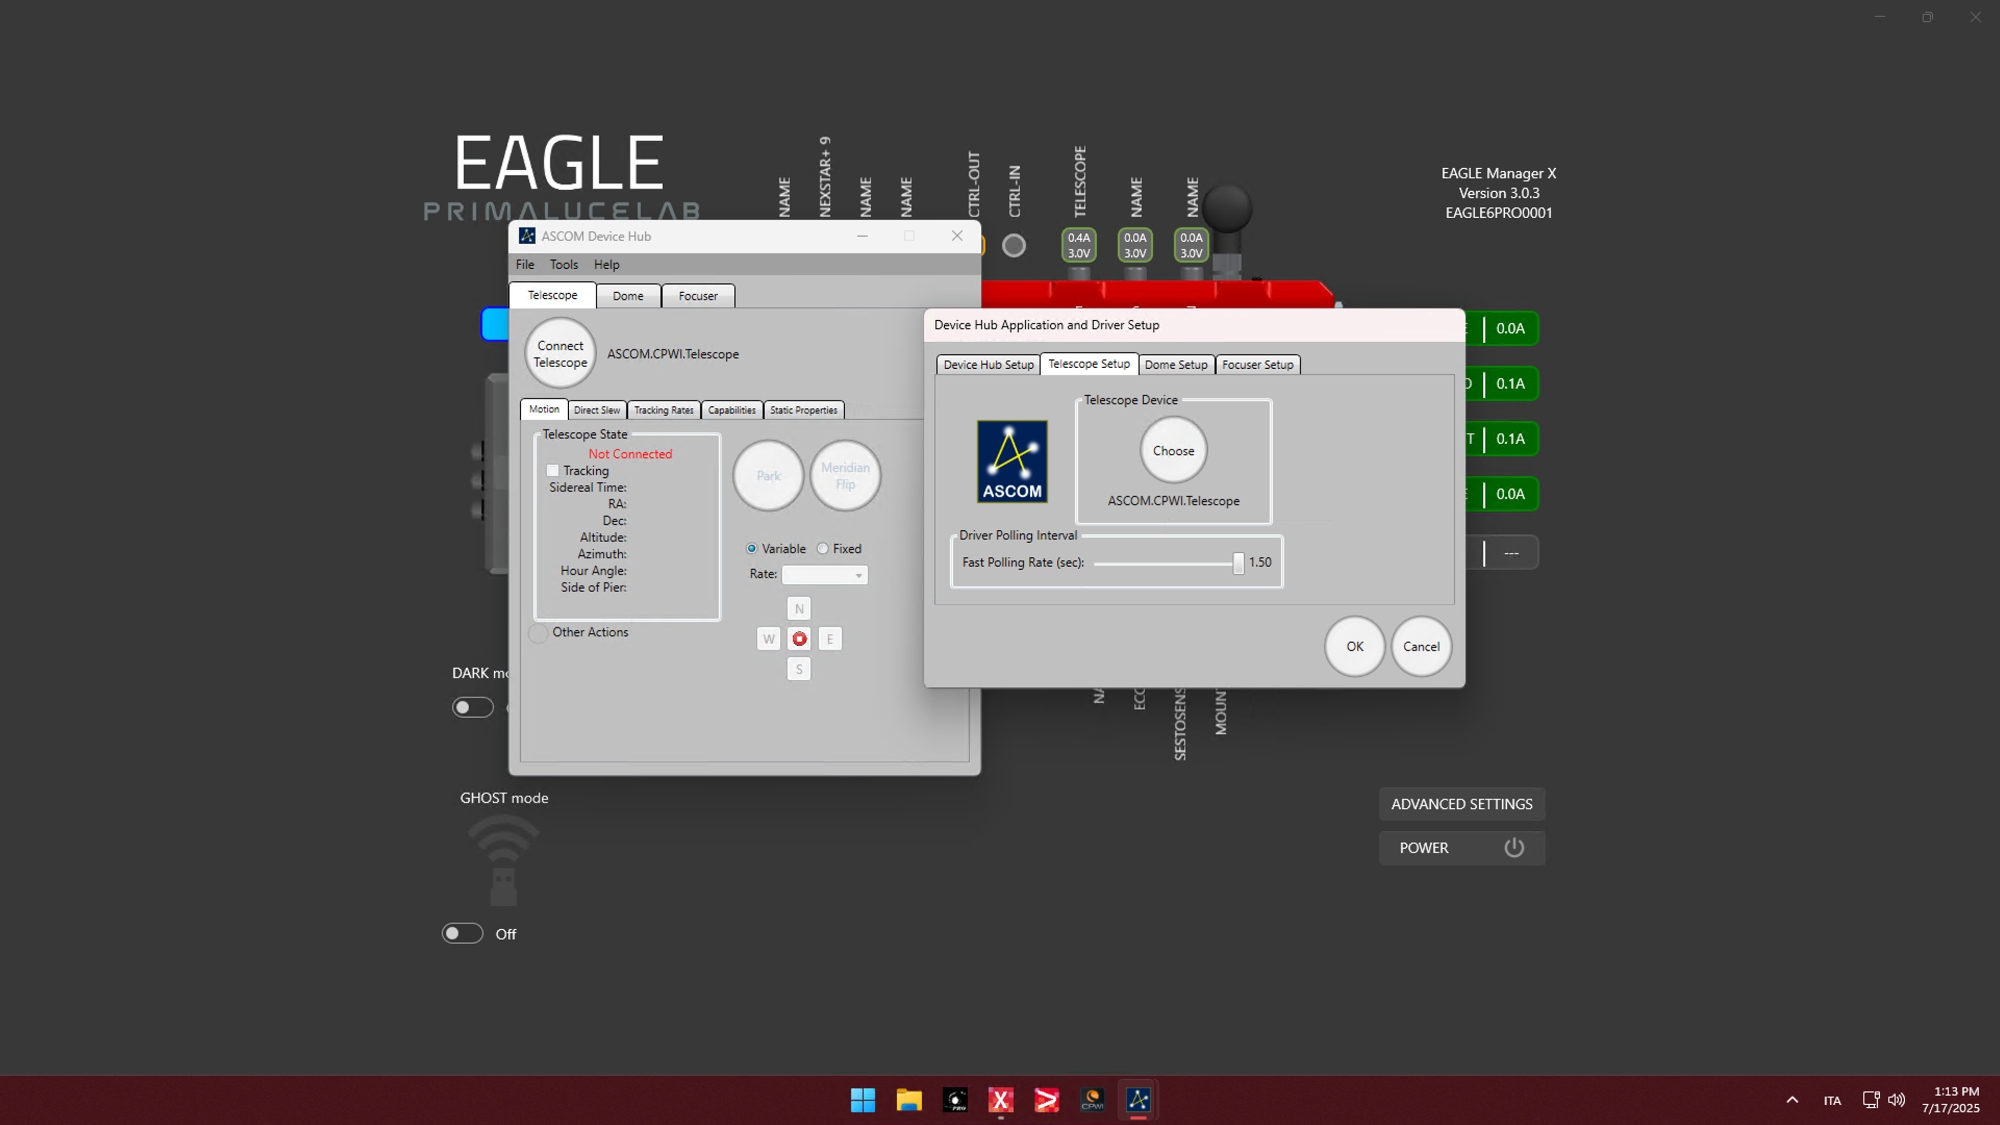
Note: for your first connection to Celestron mount through “Device Hub Telescope”, you need to make sure that the “Device Hub Telescope” is correctly set. Launch “ASCOM Device Hub” from Windows Start menu, then select the menu Tools -> Setup. In the window that opens, please make sure that, in the “Telescope Setup” tab the “ASCOM.CPWI.Telescope” is selected. Then click OK button and close the “ASCOM Device Hub”. You will have to set this just the first time you want to connect to your Celestron mount through “Device Hub Telescope”.
Now, please make sure Latitude and Longitude values are correct and corresponds to the values you typed in Celestron CPWI software. Then press SAVE button to confirm.
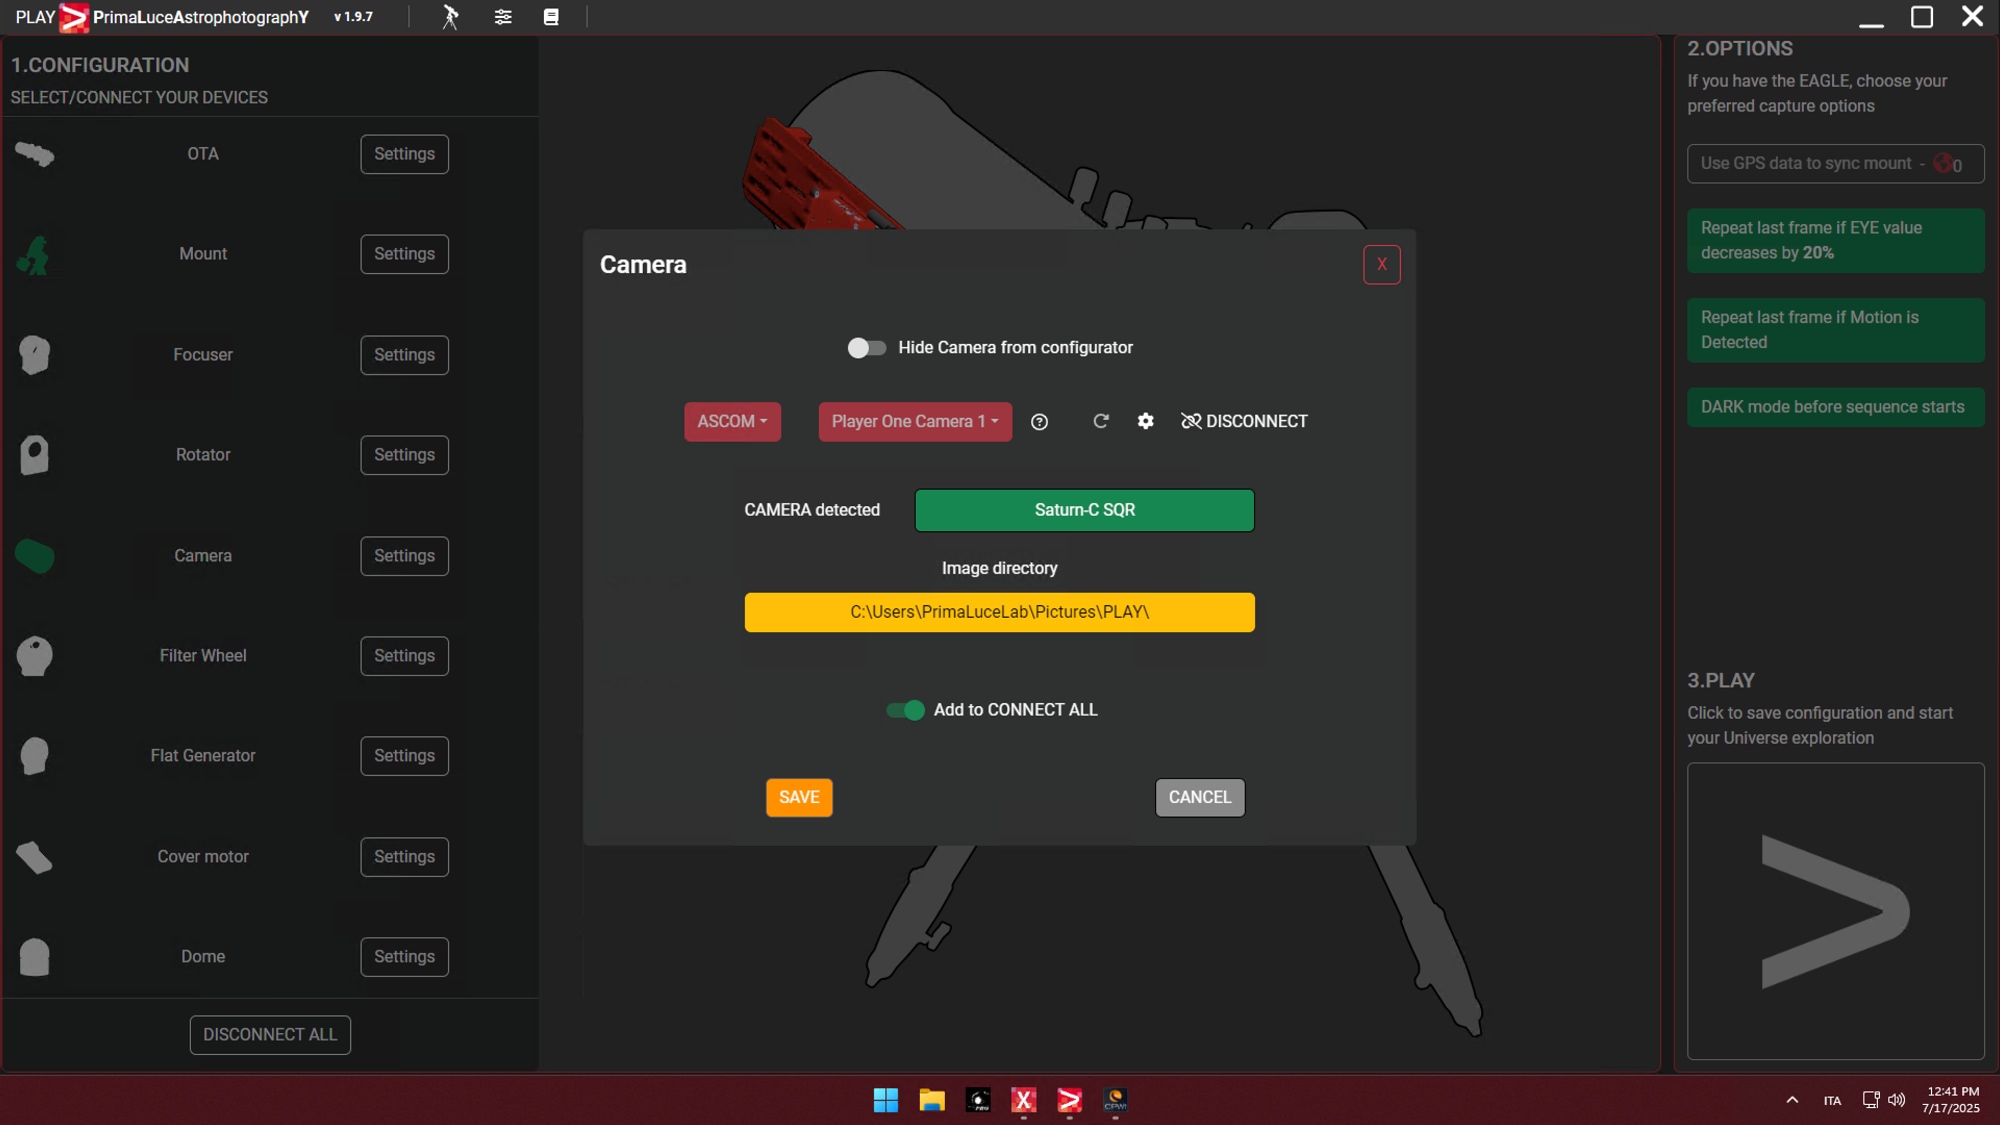
Since the mount is now connected, you can also add and configure other devices in PLAY to build your complete astrophotography system. All these devices can be controlled directly from within PLAY, allowing for seamless automation and advanced astrophotography features.
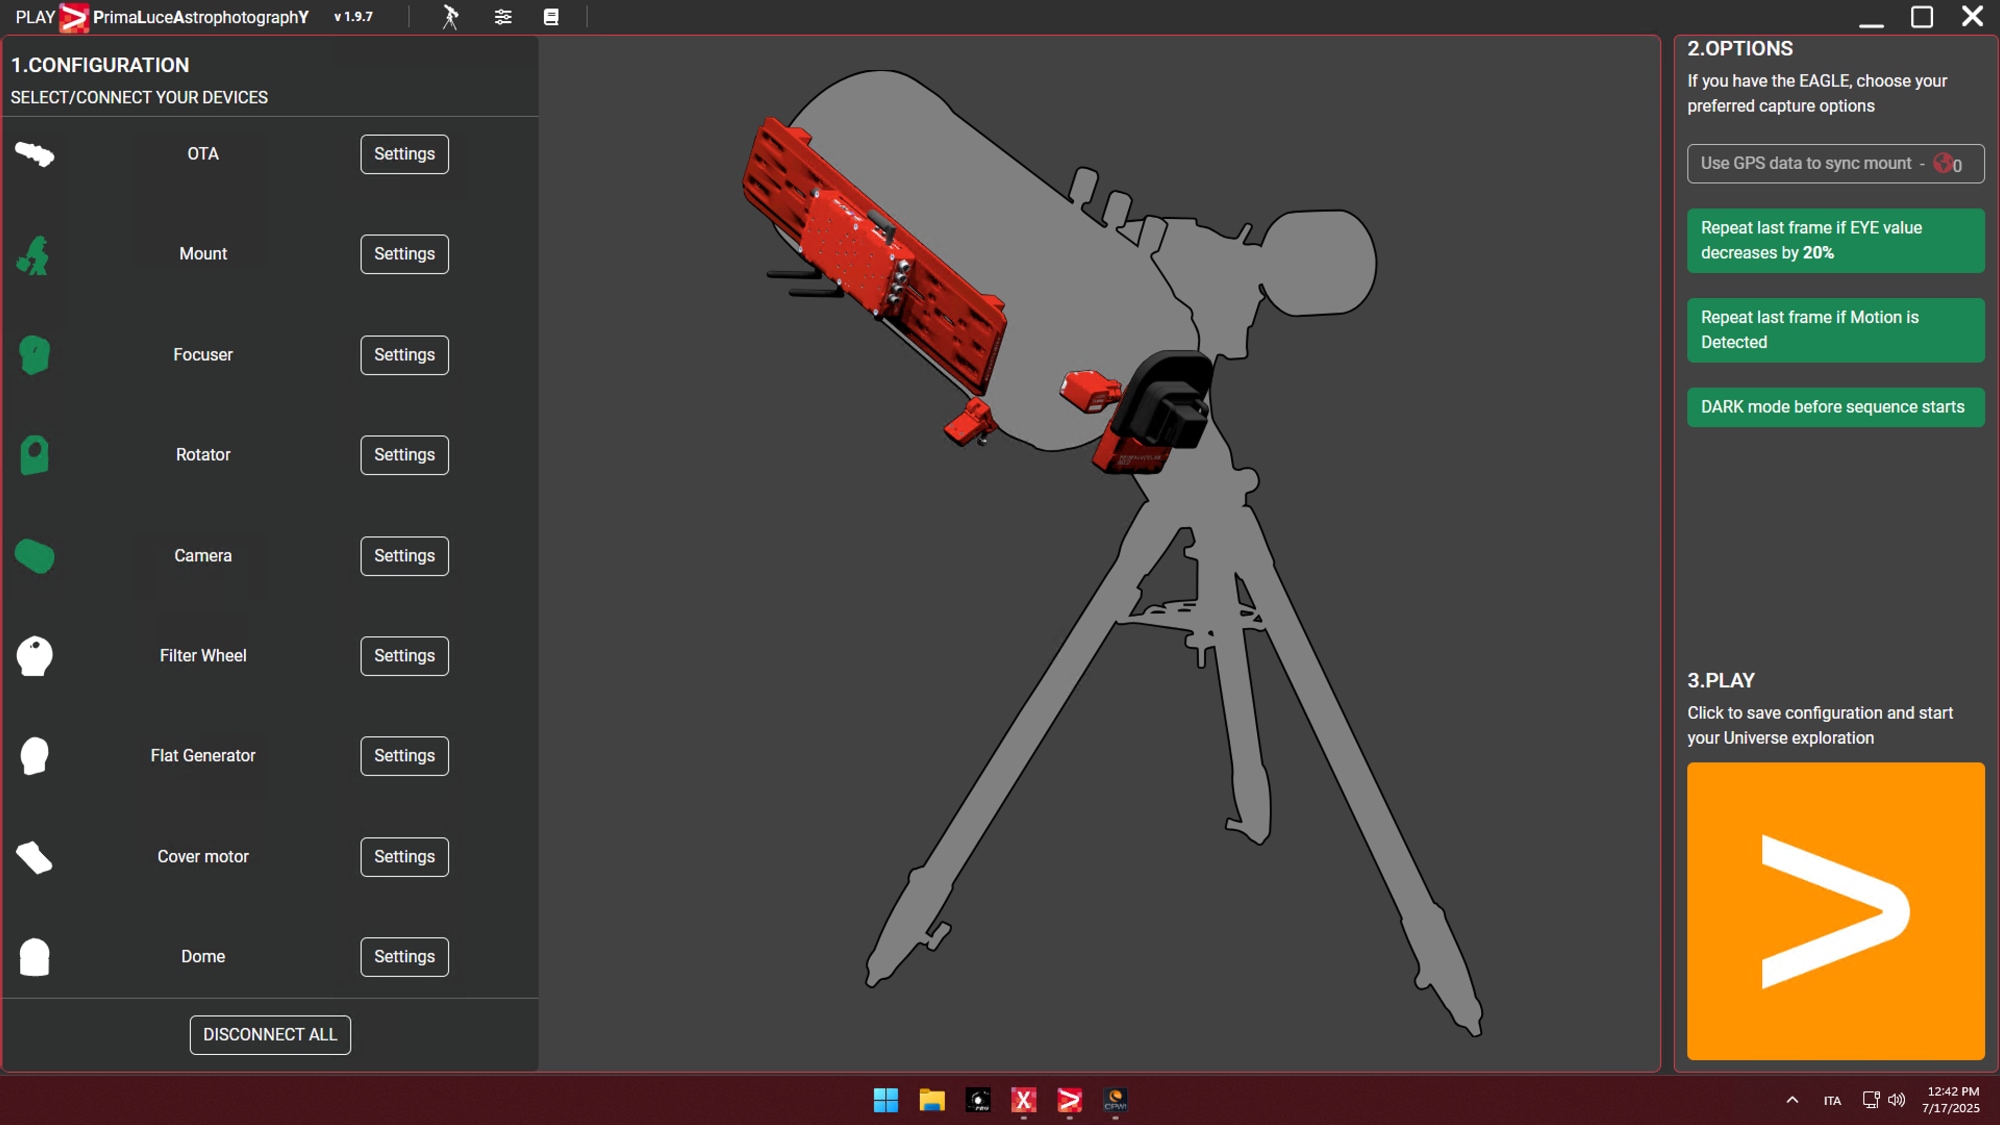
Click the large PLAY button in the bottom-right part of the Configurator window in order to move to Capture section of PLAY.
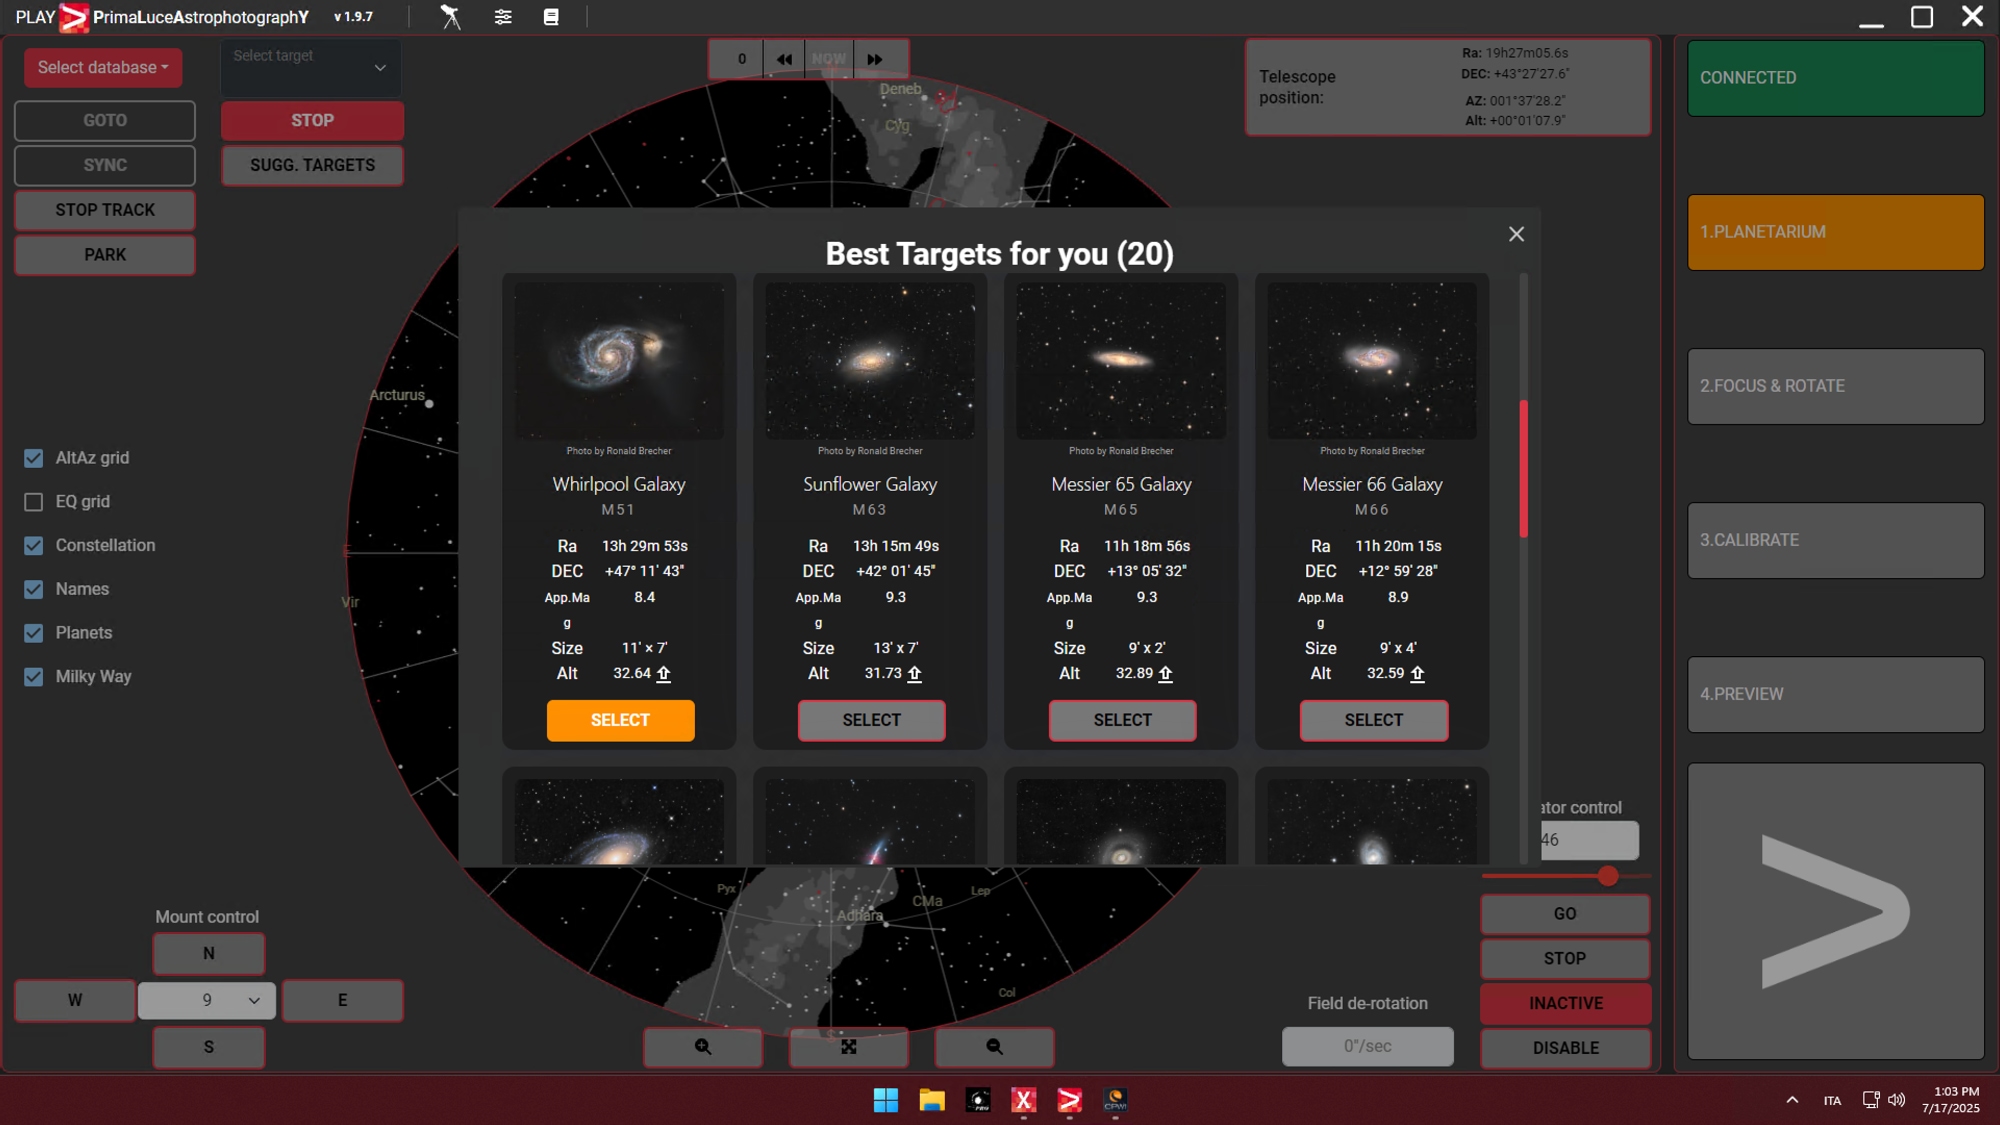
In the PLANETARIUM tab, click on TRACK and then you will be able to automatically point, track and align on many objects of the included database. You can now remotely control your Celestron equatorial or alt-azi mount with PLAY.
At the end of your capture session with PLAY, when you will disconnect your Celestron mount from PLAY, please remember to return to the CPWI software, move the mouse over “Connection” button in the top-left corner of the window and click on “Disconnect” to close the connection to your mount. Now you can close CPWI software.
