

A Backyard Observatory
One of the higher ambitions of many amateur astronomers is to have a backyard observatory. Who has available a sky with not too high light pollution in fact would like to have his telescope already installed and ready to use, without the need to assemble all the components each time to observe or photograph the sky. Having a fixed instrument also means that it’s no longer necessary to perform the mount alignments (North Star and and star alignments) each time being then immediately operational.
Then many begin to study how to buy or build a backyard observatory and, many times, they stop because of the considerable costs for the structure (that can be a dome or a small sliding roof house) and the concrete base which is necessary to build.
In this article we present a solution to achieve a backyard observatory in a simple and easy way: the idea, based on the request of one of our customers for who we have made the project of this simple backyard observatory shown in the following pictures, is to maintain fixed on the field only the mount with the pier while the optical tube is installed only when the user wants to use the telescope. This allows us to realize a covering structure much cheaper because it’s only used to cover the mount. Also, the concrete base is much smaller, and this let us less costs. Let’s see how we proceeded.
The initial situation is the one of the typical backyard, located in a residential suburban sky with low light pollution. First of all we performed a squared excavation, 1.5 meters side and 80 cm deep.
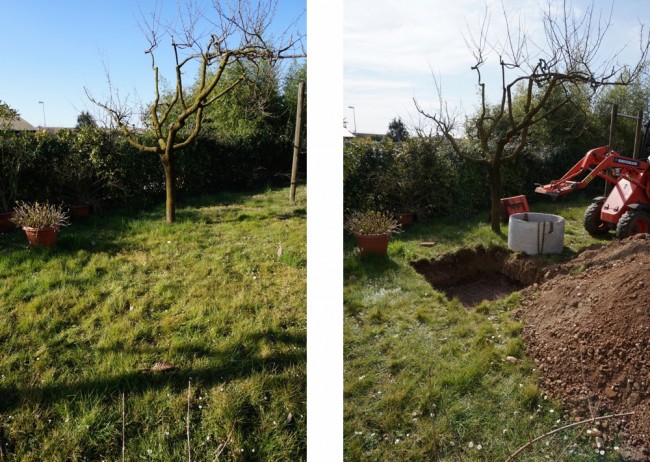
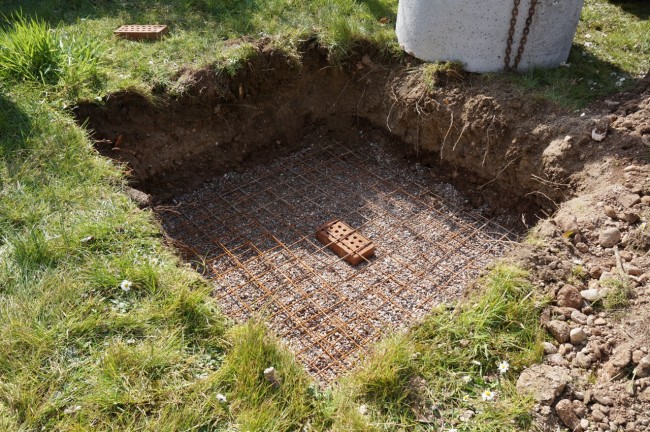
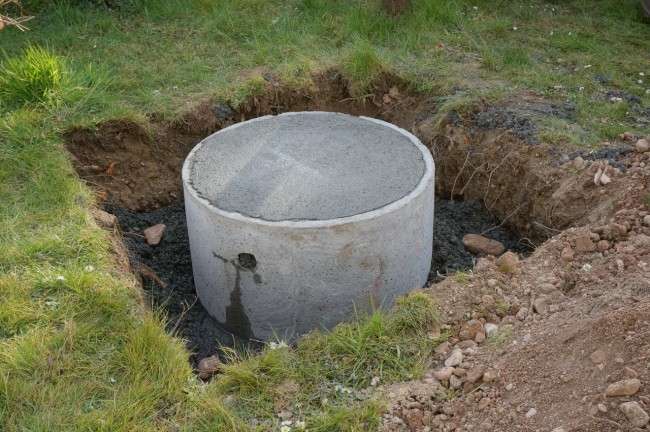
So, to give the necessary stability to the foundation, it has been realized a base layer with gravel and metal armature. On top of this, we installed a cylindrical concrete tube that will maintain the real foundations of the structure.
The inner part inside the cylindrical tube was then filled with concrete and the outer part was filled and leveled with the ground.
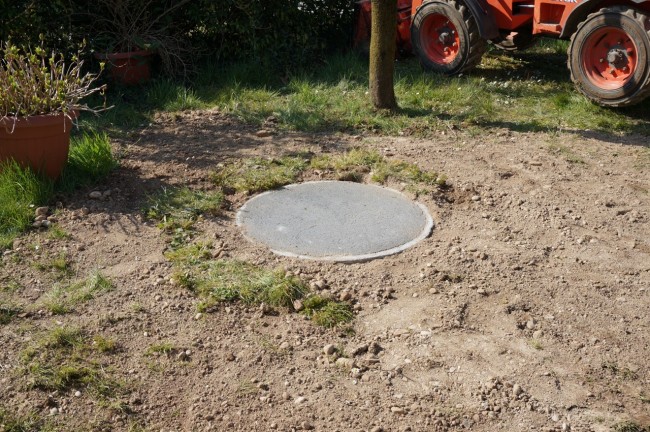
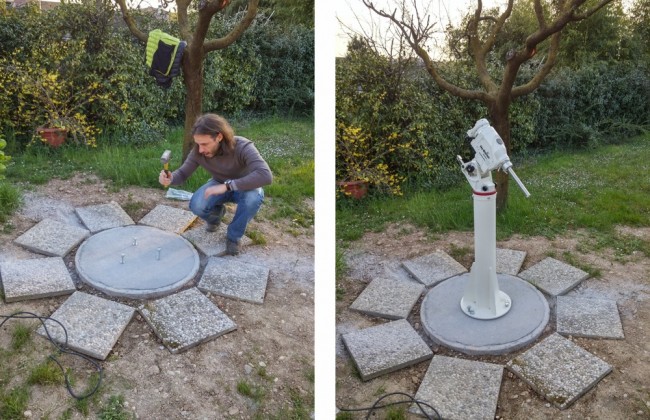
Once the concrete base is done, it’s good practice to wait at least 3 (sunny) days before proceeding with the installation of the telescope since, in order to fix the pier, it’s necessary to drill the concrete base and install the anchors: the concrete base must therefore be perfectly dry! We then checked the alignment of the pier to the North, mark the correct positions, we performed the holes in the concrete base. Our piers have a simple but effective mechanism with 3 pairs of screws (each pair has a thrust screw and a fastening one), which allow to perfectly set the pier in vertical position (in order to make a precise polar alignment it’s in fact necessary the mount to be perfectly leveled). We then placed the mount on the pier (in the picture a SkyWatcher AZ-EQ6 SynScan). The structure will be one that will remain fixed on the outside, protected by a special waterproof cover when not in use.
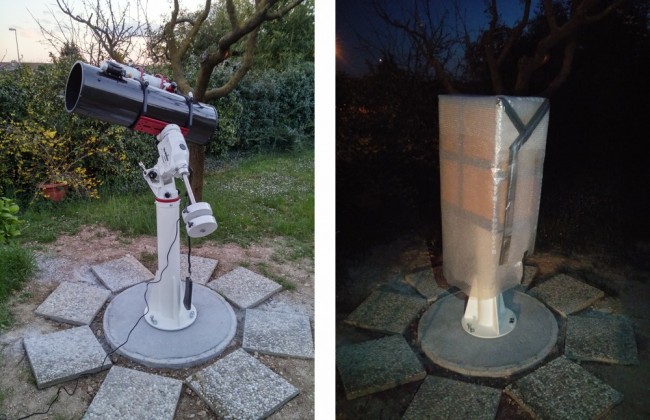
When you want to use the instrument, just place tube and counterweights on the mount (photo below-left). In this case we have prepared a setup with our Newton 200CF f4.5 telescope and the AIRY APO80 refractor installed in parallel with PLUS system (dovetail bars, dovetail clamps and guide rings). When not in use, the user can remove the optical tube with counterweights and cover the mount with a covering structure that can be made from wood, cork and insulation material (pictured bottom-right, a provisional waterproof structure). This covering structure is fixed to the base of the pier and to the ground with special rods: in case of bad weather, it can not move!
It’s obvious that having a backyard observatory with a dome or a sliding roof house is better but this simple structure provides a much simpler and cheaper way, for everyone.