

EAGLE is designed to be controlled from an external device (not included in the package). You can use any mobile device (computer, tablet or smartphone) with any operating system (iOS or Android) or from any computer (Windows or macOS): read here the how to guide on EAGLE first use. For remote control, you need to download the App “Microsoft Remote Desktop” to the device you will use to control EAGLE (smartphone, tablet or computer). Depending on the store of your system the App can also be found under the name “RD Client Microsoft”. The app is free and compatible with all operating systems iOS, Android, Windows Mobile, Windows and macOS.

Take the 2 WiFi antenna included in the package of EAGLE and screw in the proper ports as in the picture.
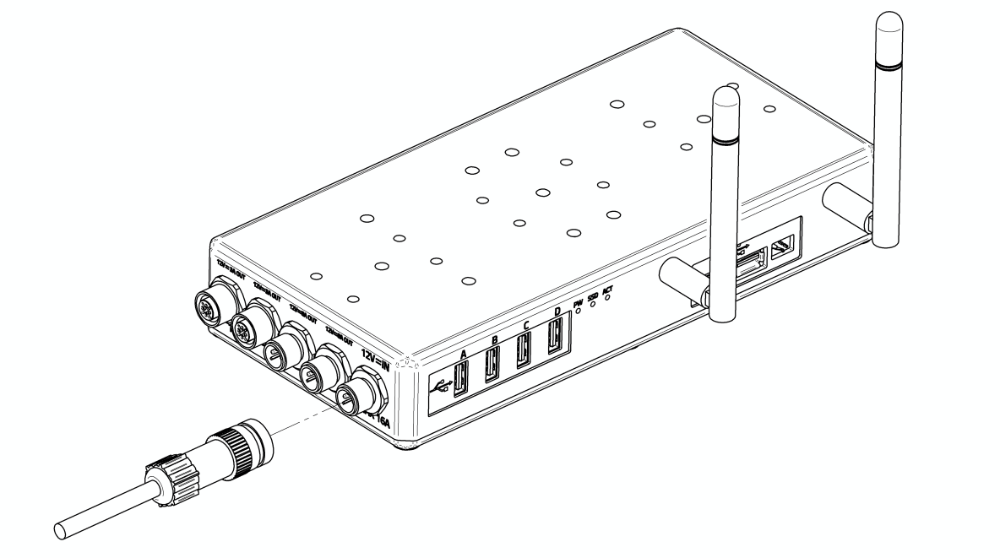
In order to power EAGLE with a 12V battery equipped with a cigarette lighter socket, use the 12V cable with cigarette lighter socket that you find in the EAGLE package. Insert the power cable into the appropriate socket (1 – 12V power input). If you want to power EAGLE from the 110/220V wall plug, replace the power cable with the optional 12.8V power supply. Then press the power button. A red LED will light up (the brightness is calibrated not to be annoying during the night so in daylight it might be difficult to notice) and you will hear a beep sound.
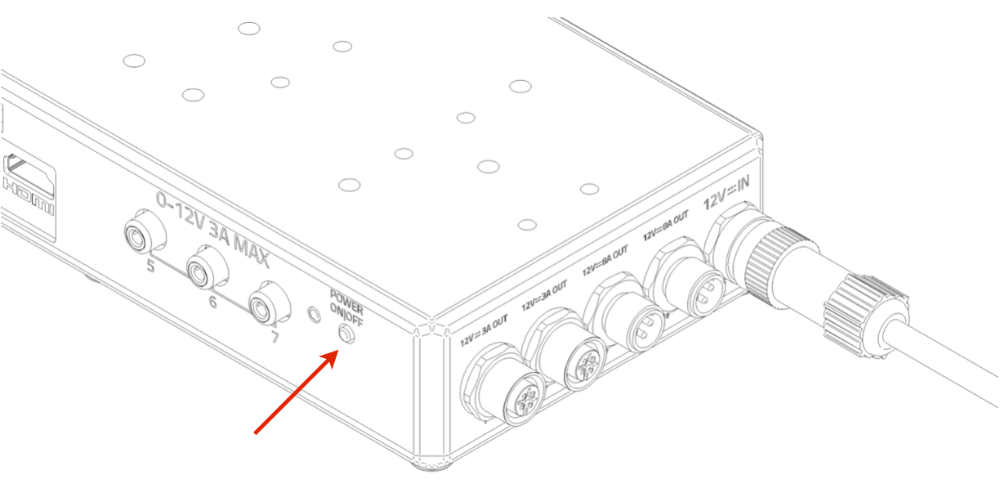
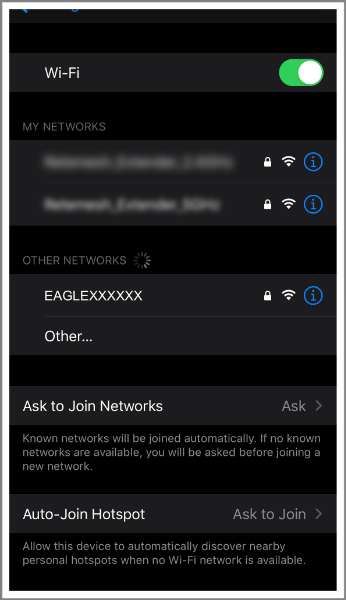
Now wait about one minute and you will hear a second beep sound. This indicates that the EAGLE’s WiFI connection is ready. Turn on your WiFi device you choose to control EAGLE. The network name is EAGLEXXXXXX (where the XXXXXX is the serial number of your EAGLE as written also is also on the EAGLE’s case. Look at the list of WiFi networks shown in your device (identification mode of wireless networks depends on the control device you use, so if you do not know how to search for WiFi networks, please read the manual of your device) and select the network created by EAGLE.
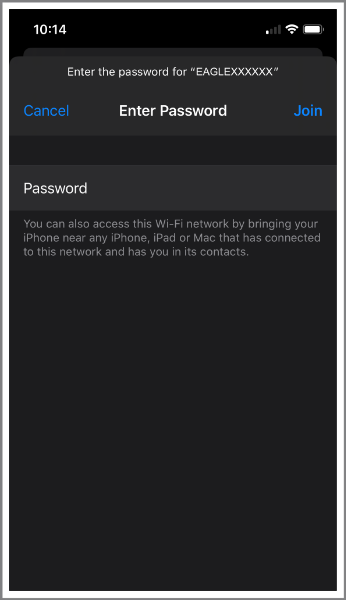
A window will appear where you will be asked to enter the password of your network. The password is primalucelab. Using the keyboard (virtual or physical) of your device, enter the password paying attention to appropriate upper or lower case. Then press the CONNECT. Each EAGLE has a different password (that you only know) to log in to Windows; the password is shown in the flyer in the EAGLE box. This way it is possible (and it’s safe) to use your EAGLE even if other EAGLEs are close to you (for example during a StarParty).
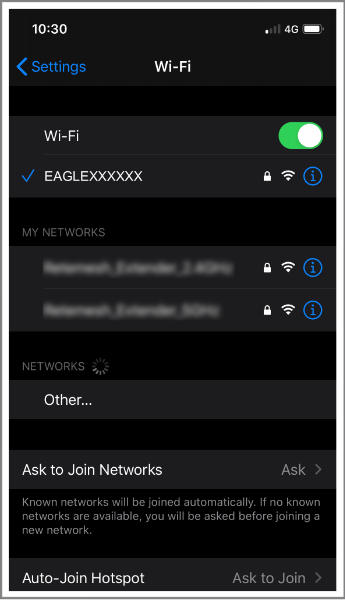
Then EAGLE WiFi network connection is confirmed (image 6). The network setting is complete and the next time you want to access the EAGLE you will no longer need to enter your password: your device will connect automatically when you select the network created by EAGLE.
NOTE: On Windows operative systems, when you select EAGLE’s WiFi network, you may be requested to insert a “PIN from the router label”. Please click on the “Connect using a security key instead” and then type the password “primalucelab”.